Building a Procedural House in Cinema 4D Using Mograph System
SPRING QUARTER 2025
5/12/2025
In this vlog, I will share my experience building a house inside Cinema 4D using a procedural modeling workflow. I used the Mograph system, especially the Cloner tool, to create the design in a flexible and smart way. The goal of this project is to show how we can build a full house model and still have full control to change or adjust things at any time.
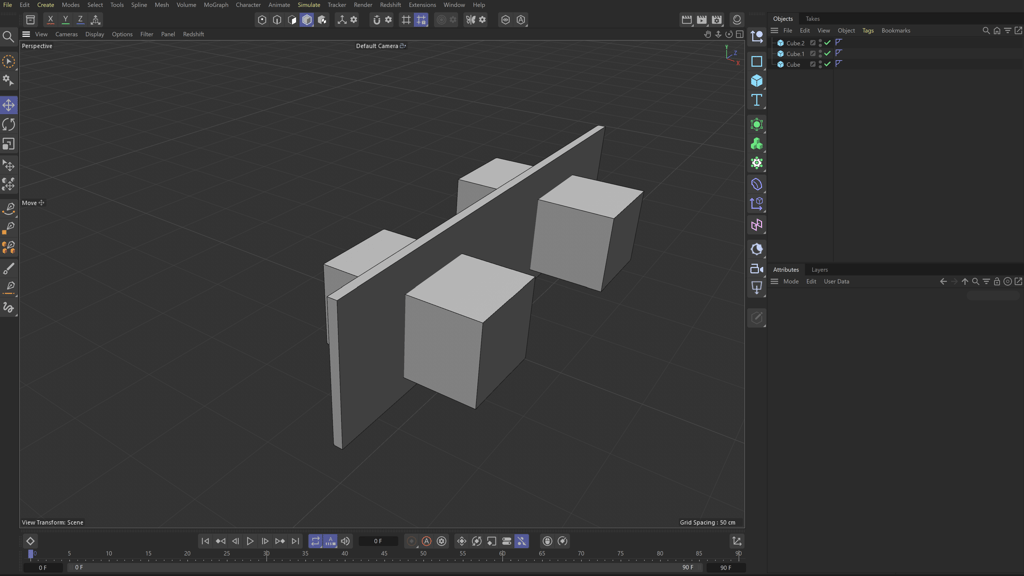
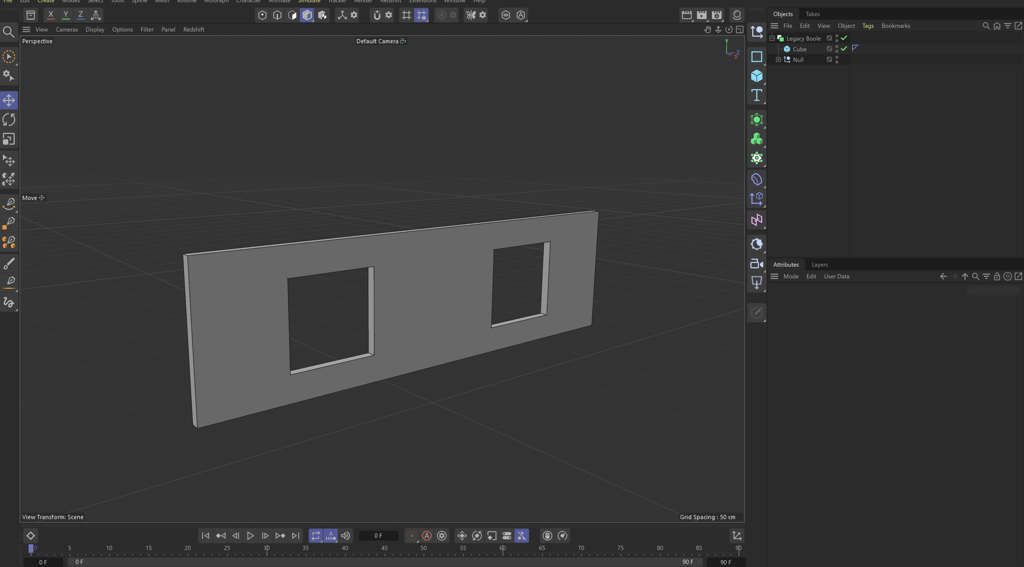
To start, I created the base shape of the building using a simple rectangle. Then, I added two cubes to represent the windows. I placed the cubes so they intersect with the main building shape. After that, I used a Boolean object to subtract the cubes from the rectangle. This made clean openings in the building where the cubes were, which will become the windows later.
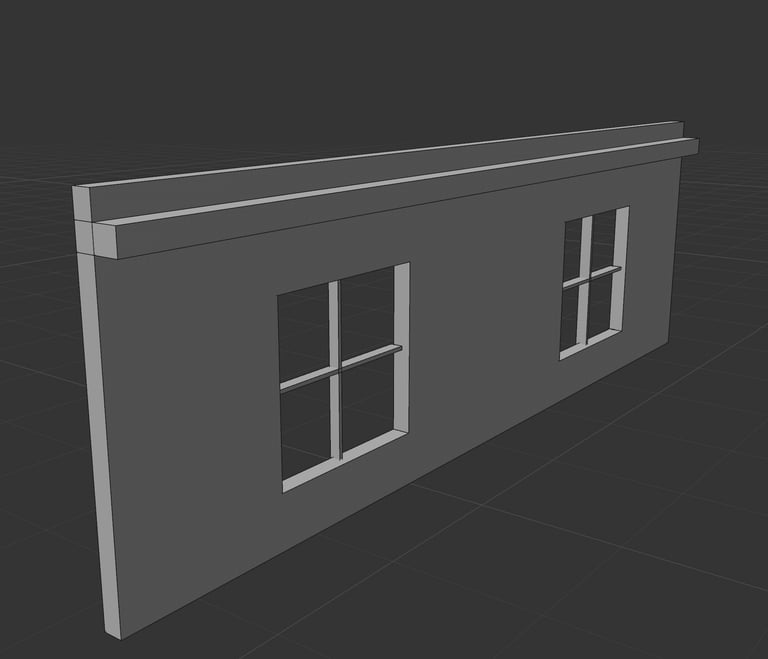
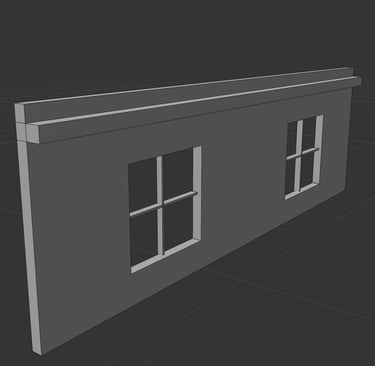

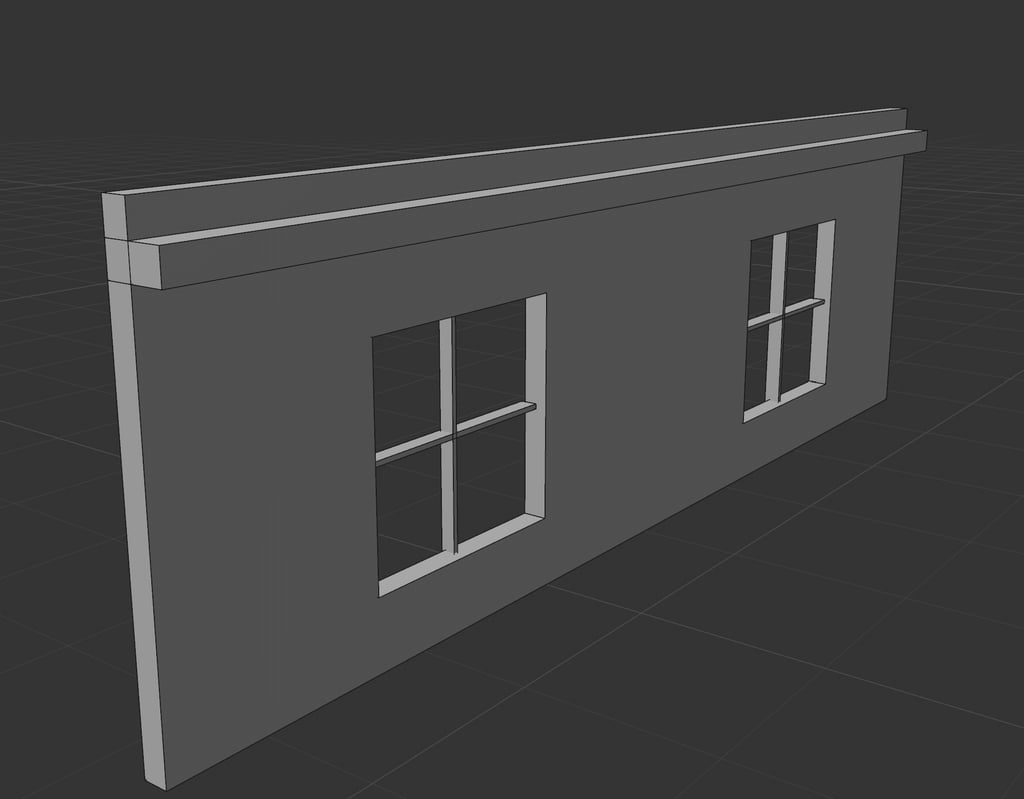
Now I’m starting to add some basic details to the windows. To place the glass in the exact position, I copied the same two cubes I used earlier for the Boolean cut. Then, I made the copies a bit smaller so they could fit nicely inside the window openings. I used these smaller cubes to represent the glass. After that, I added simple frames around each window to make the design look more realistic. The building is still in a basic form, but now the windows look more complete.


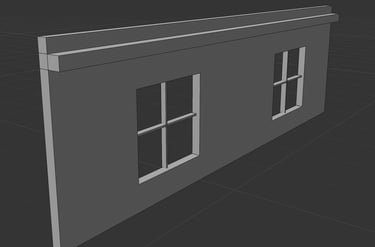
Next, I added a small extrusion to represent the roof edge. This part will act like a simple roof detail that sticks out slightly from the top of the building. I’m keeping it basic for now, but later I will use the Cloner tool to repeat this element across the entire roof. This will help create a more interesting and realistic look, and it will save time by not modeling each part manually.
Now I moved on to exploring different types of Cloner objects and the results I can get using just one single shape. I started with the Radial mode. This mode arranges the object in a circular pattern, which gave me some interesting ideas for repeating roof elements or decorative parts. It’s a great way to test how one small shape can create complex patterns when repeated in smart ways.
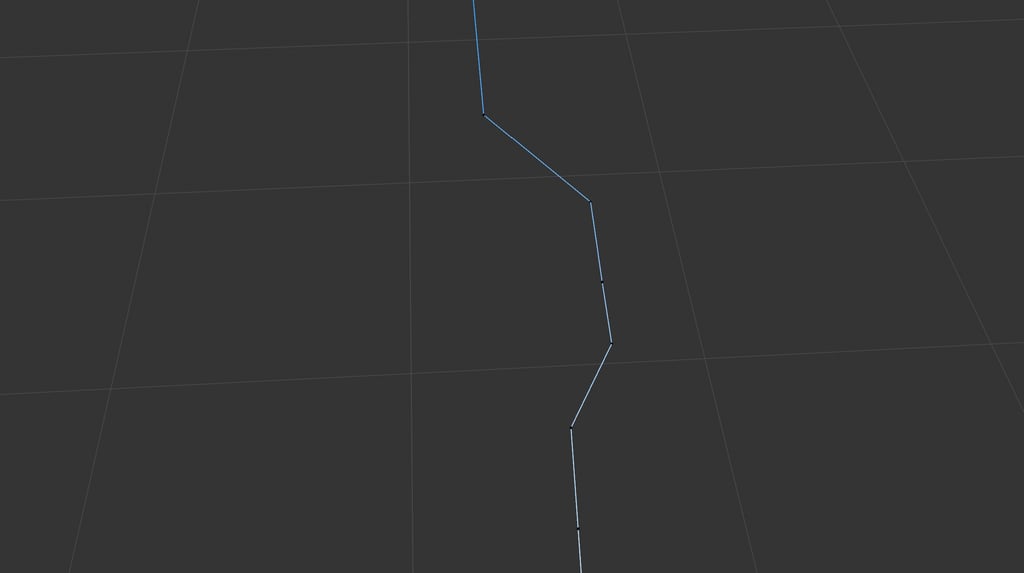
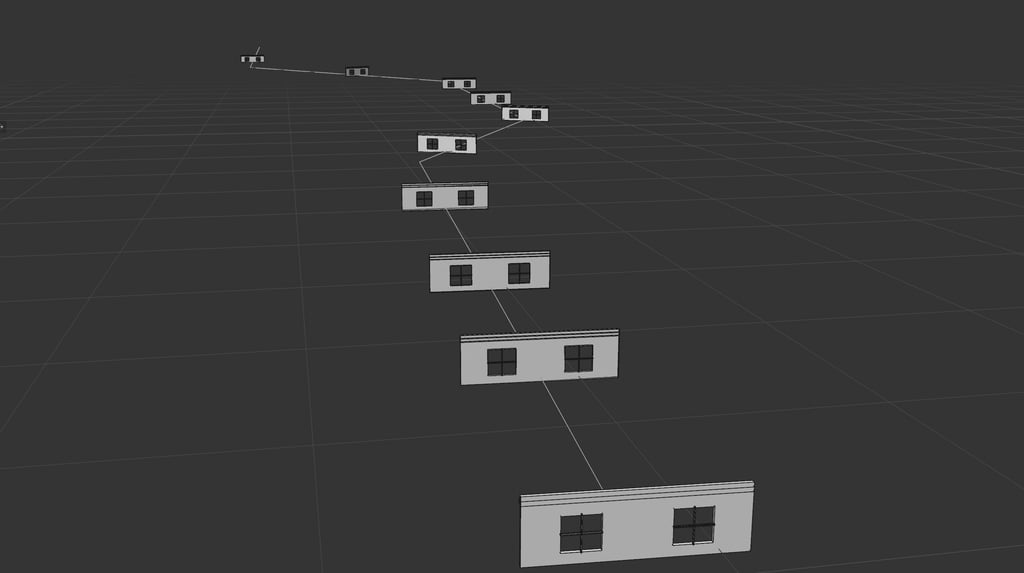
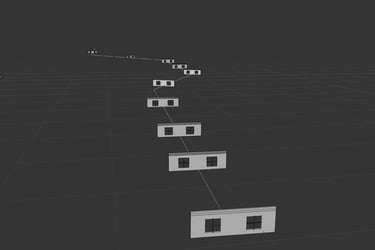
After that, I tested the Cloner in Spline mode. This mode allows me to place copies of my building model along a spline path. I created a custom spline to control the direction and flow of the clones. This is useful if I want to design a street or row of buildings that follow a curve or specific shape. Using the spline gives me full control over spacing, rotation, and alignment of each copy.
To make the buildings look properly aligned along the spline, I had to adjust the orientation settings in the Cloner. At first, the buildings were rotated in the wrong direction or not lining up correctly. By changing the orientation, I made sure each building faced the right way and sat neatly next to the others. This made the row of buildings look clean and organized, just like in a real street.
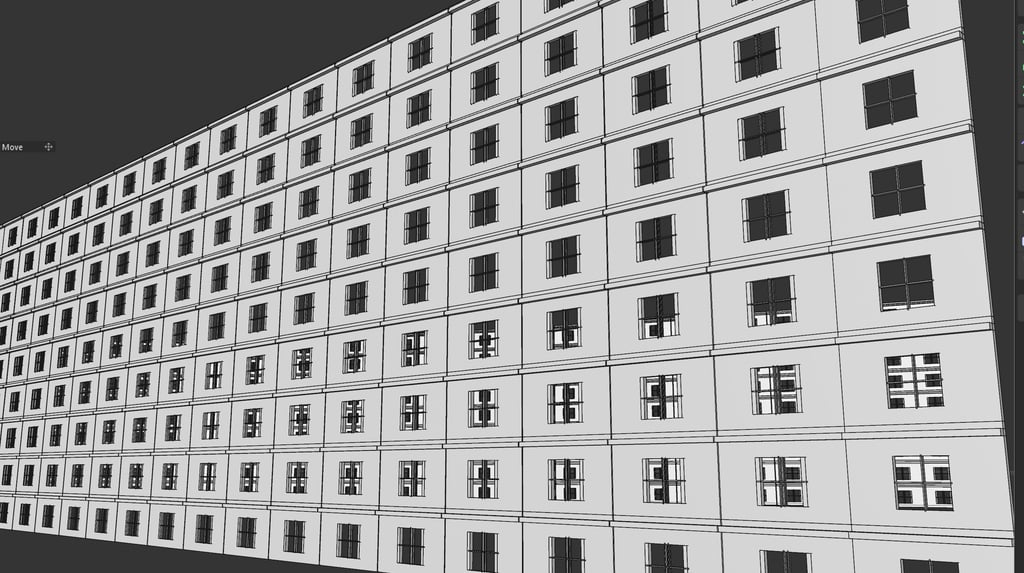
Now I added another Cloner, but this time I set it to work vertically so I can control the height of the buildings. By stacking the building model upward, I can create taller structures or even simulate towers. This gives me more flexibility to experiment with different building sizes, all while using the same base model. It’s an easy way to create variety without needing to model each version by hand.
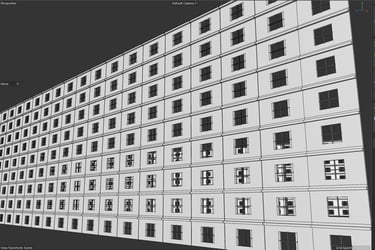
Now I’m controlling the shape of the building in a procedural way by editing the points of the spline. By moving the spline points, I can easily change the shape and layout of the buildings. This allows me to create many different building designs quickly, without starting from scratch. It’s a powerful way to make unique structures while keeping everything flexible and easy to adjust.