Generative Terrain Using Layered Noise Textures
SPRING QUARTER 2025
5/9/2025
Introduction
Cinema 4D allows designers to create realistic terrains by mixing different noise layers, similar to Photoshop. Using blending modes like Add, Overlay, and Multiply, you can combine multiple noise layers to build natural-looking landscapes.
These blending modes work just like in Photoshop - Add increases height, Multiply creates deeper areas, and Overlay enhances contrast between high and low points. This simple but powerful technique gives you great control over your final terrain design.
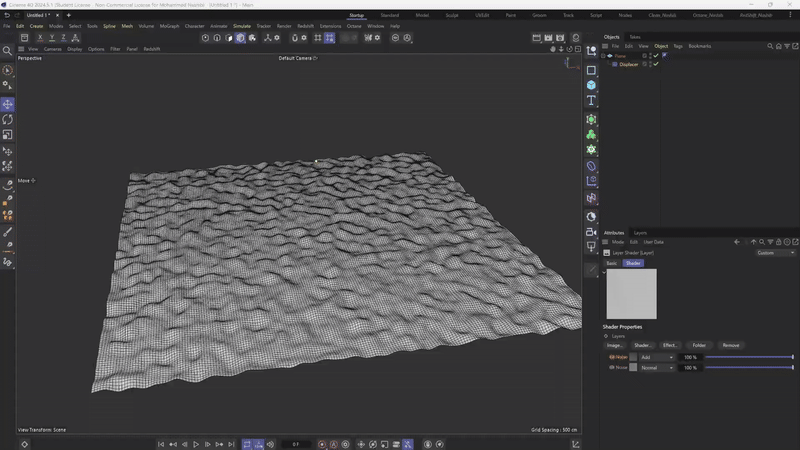
Step 1: Adding Small Ground Details
For the first step, I used just one noise type called "Berlin" (Perlin noise) with very slight elevation settings. This creates small bumps and subtle height variations across the terrain surface. This initial layer simulates the fine details you would see in real ground textures and serves as the foundation for our terrain.
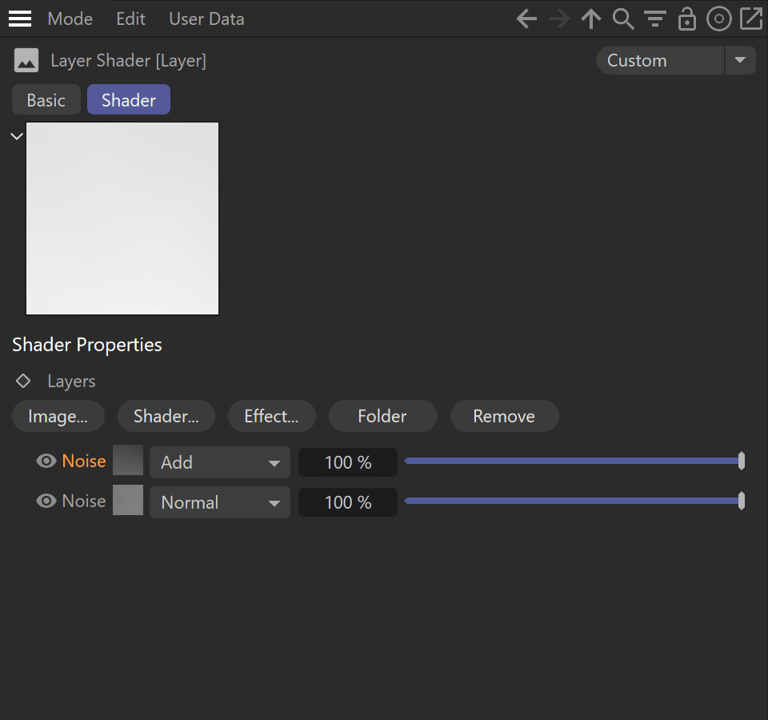
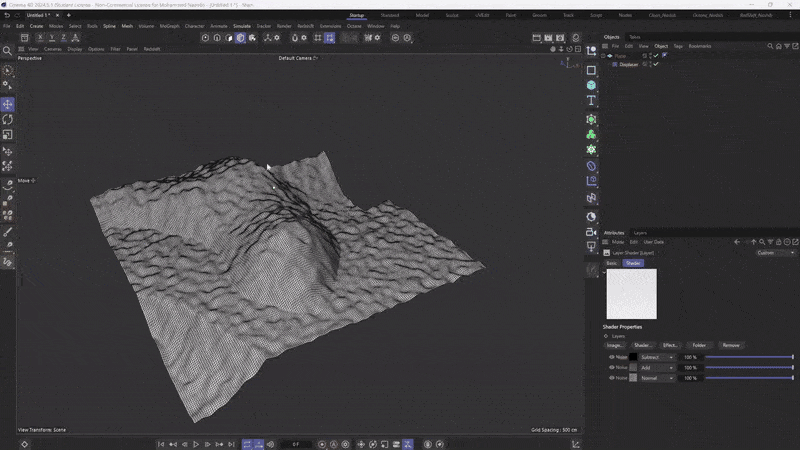
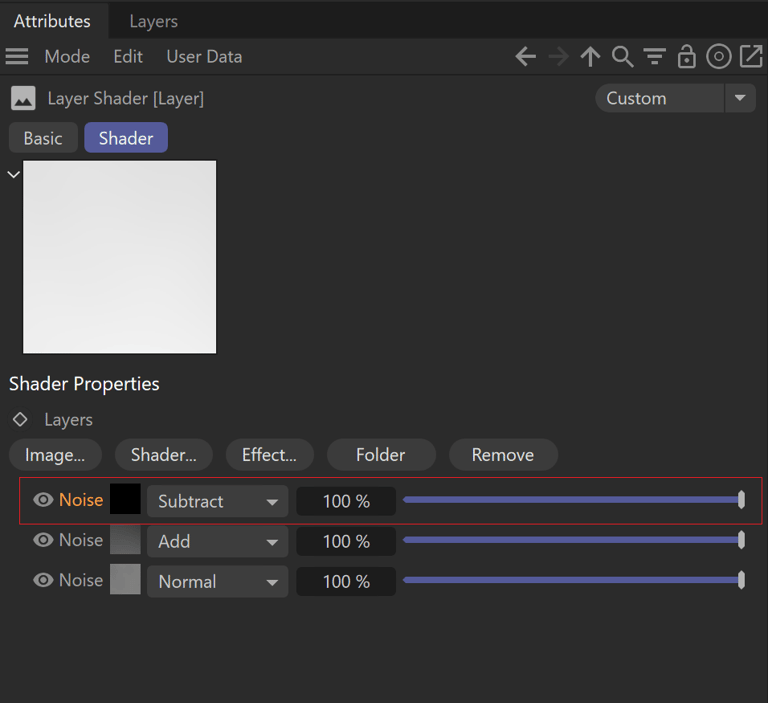
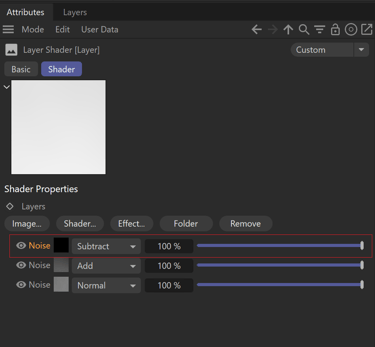
Step 2: Creating Secondary Terrain Features
In the second step, I added three different noise textures to create more significant elevation features:
The first noise texture is set to Normal mode, serving as the base layer for larger terrain features.
The second noise texture uses the Add blending mode to introduce simple additional details and elevation variations to the terrain.
The third noise texture is set to Subtract mode, which helps control the overall shape by cutting out or lowering certain parts of the terrain.
This combination of three different noise layers with different blending modes gives me much better control over the secondary terrain features and starts to create more interesting landscape variations.
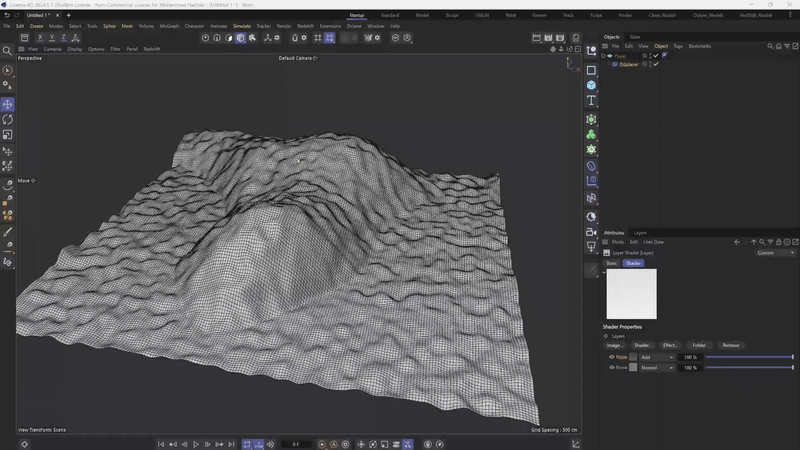
Step 3: Expanding the View
For the third step, I expanded the plane from all sides to get a better view of the entire environment. This scaling up allows us to see how the terrain features connect and flow together across a larger landscape, giving a better perspective of the overall terrain design.